


How to Clean your Makeup Brushes
As the weather cools down, I find myself drawn to a seasonal ritual, of cleaning out my bathroom cupboard and letting go of things that no longer serve me. There is something about spending time indoors that inspires me to reassess my beauty collection and to pull out those forgotten items lurking in the back of the cabinet.
Inevitably, during my most recent cleanout I rediscovered my collection of makeup brushes. These trusty tools are indispensable for creating our winter looks, but we are constantly dipping them in powders, creams and liquids and tossing them into makeup bags, creating the perfect breeding grounds for bacteria.
Dermatologists recommend regular cleaning to prevent the buildup of product residue, dirt and oil, which can lead to unexpected breakouts, skin irritation and even infection. You know your brushes need replacing when they start losing their shape, shedding bristles excessively or developing an odour.

Cleaning your brushes doesn’t have to be a tiresome chore; it can form part of your wellness routine. After all, it’s all about looking after your skin. So, why not light a candle with your favourite, calming scent (maybe our soy wax blend Relax candle) or pop on a diffuser to help turn this task into something to look forward to.

Make sure the water is lukewarm and rinse the excess product off the bristles of the brush. Avoid submerging your brush so the glue isn’t impacted, and the brush material isn't damaged.

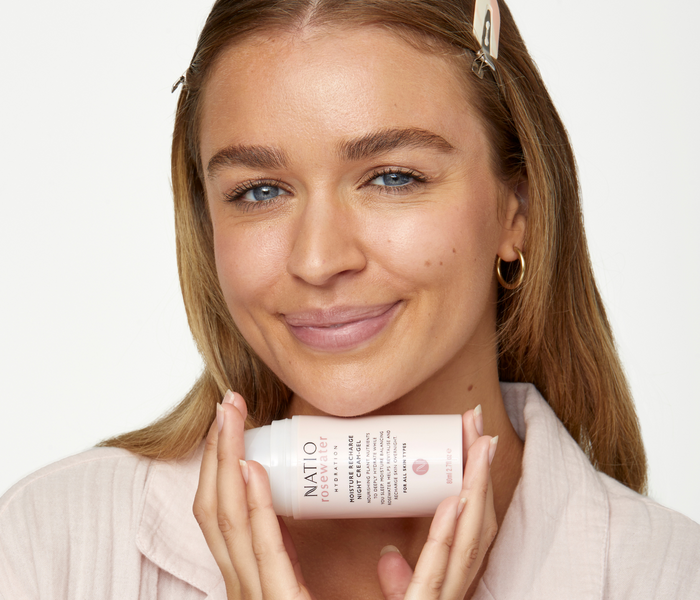
There are plenty of options when it comes to cleaning your brushes, but why not use something gentle that is intended for your face. Try our Gentle Micellar Cleansing Water or Rosewater Hydration Antioxidant Micellar Cleansing Water to help purify and remove makeup from your makeup tools.
Avoid using plain soap and water as this can dry out the brushes.
Pro Tip: For a quick refresh, keep some micellar water in a small spray bottle to spritz on brushes between deep cleans. Swirl on a towel or paper towel to remove residue.

Apply micellar water to each brush head and swirl the brushes in circular motions in a shallow bowl. Rinse and repeat until the liquid is clear.
Now that they’ve had some tender loving care, you can gently squeeze the excess liquid from the brush heads with a towel, reshape the bristles and lay them flat on the towel or use a makeup brush holder, pointing the bristles down to avoid loosening the glue in the ferrule. Leave the brushes for 24 hours to dry completely before storing them upright.
Pro Tip: You might want to invest in a textured silicone cleaning mat to work out stubborn products.
Clean brushes perform better, distributing makeup evenly and blending effortlessly. This winter, reset your brush collection with the steps above. Your skin will thank you!
Whilst you're at it, you might want to check out our blog post about transitioning your skincare routine for the cooler months.